Disk- and Memory-Upgrade of a QNAP TS 259 NAS
Last summer, the disks of my 4 years old QNAP-NAS with 1TB of space were filled for about 90%.
So what to do?
After some online research, I found out that:
- The disks can be replaced and the size of the RAID will be extended to the new disk size. What means no system reset is needed and all the configuration that is in place will also be there after the disk replacement
- It’s not only possible to extend the disk space, but also the memory (RAM) of the device
And how?
First of all, create a backup of all your data! In my case, I didn’t need it, but when something really goes wrong…
Memory Upgrade 1GB->2GB
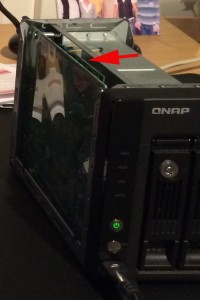
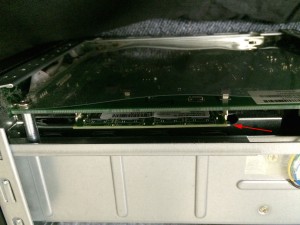
The memory upgrade was quite easy. The though part was to find a module that matches. I finally decided to buy a Kingston KVR800D2S6/2G module from digitec.ch. Because the replacement of the module needs a bit filigree fingers, my first attempt failed and the NAS wasn’t booting anymore. After a firm second attempt, it counted successfully up to 2GB and booted without any interruption.
Disk replacement 2x1TB -> 2x3TB
This part should also be quite easy because it’s well documented and officially supported by QNAP [1, Expanding Capacity]. For me it worked until step 7, “Expand Capacity”. I tried about 3 times without any success. Obviously, some packages/services on the NAS were interfering with the raid expansion process. At that point it was time to connect to the NAS via console [2].
To extend the capacity manually from the console, I did the following steps:
- Check if the raid device is busy
# lsof /dev/md0
if this command returns any service/process, shut it down via init script or by kill command
- Unmount the raid device
# umount /dev/md0
- Run file system check, this may take a while
# e2fsck -f /dev/md0
- Disable ext3 journaling
# tune2fs -O ^has_journal /dev/md0
- Extend the RAID, this will really take a while
# resize2fs /dev/md0
- Check the file system if everything is fine
# e2fsck -n /dev/md0
- Turn the journaling back on
# tune2fs -j /dev/md0
- Reboot the system
# reboot
After the reboot, calling # df /dev/md0 showed me the new size of the expanded RAID (2.7T).
[1] http://docs.qnap.com/nas/4.1/Home/en/index.html?raid_management.htm

